Raspberry Pis have been a thing on my radar for quite a while. Since I've first heard of them a few years ago, I was mind-blown at the idea of a computer the size of your palm. I've watched several videos about how you could self-host things with the Pi, so I wanted to give things a try. It's been a while (a few months!) since I've gotten the Pi, but I've only managed to get it up and working a few days ago. Here's my journey from start to end!
Getting the Pi
Getting the Pi here in Singapore seems a little bit more difficult than it sounds, at least cost-wise. Looking at a few online electronics stores that did officially sell the Pis, they were high in cost (at least for me). I settled on getting my Pi from element14, grabbing the Pi itself, the official Pi case (which I eventually didn't use) and the official Pi power supply for a little over $100.
At the time I ordered the Pi, I had a little bit of income from my internship, so I didn't have to depend on borrowing money from anyone. Getting the Pi felt like my first big investment into something that I'm interested to play around with!
Initial set up
When the Pi came in the mail, I've watched hours of tutorials on how to get the Pi up and working. I planned to use the Pi mainly in its headless mode — in a nutshell, it meant that the Pi would only run bare-bones as a terminal without a graphical user interface. From what I'd watched, the way to access the Pi would be through SSH, and doing that was simple enough — you'd only need the internal IP address of the Pi (or, as I've learnt later, its hostname) to connect to it!
The whole micro-SD card ordeal
I hate to admit it, but there were some complications with me getting a micro-SD card for the Pi. Quite ironic for someone so invested and interested in tech, I purchased an SD card that turned out to be a fake one off an online store. Here were a few tell-tale signs that made me think it was suspicious:
- the read and write rates of the card was extremely slow, much slower than what was advertised; and
- there were some inconsistencies in the painting.
I definitely knew it was a fake when I tried to look up the exact same card online and realised the differences in the painting. Facepalming after the realisation, I purchased from another shop (of which I accidentally selected in-person collection, meaning I could collect on the same day but I had to travel pretty far) and at least it's a genuine one this time.
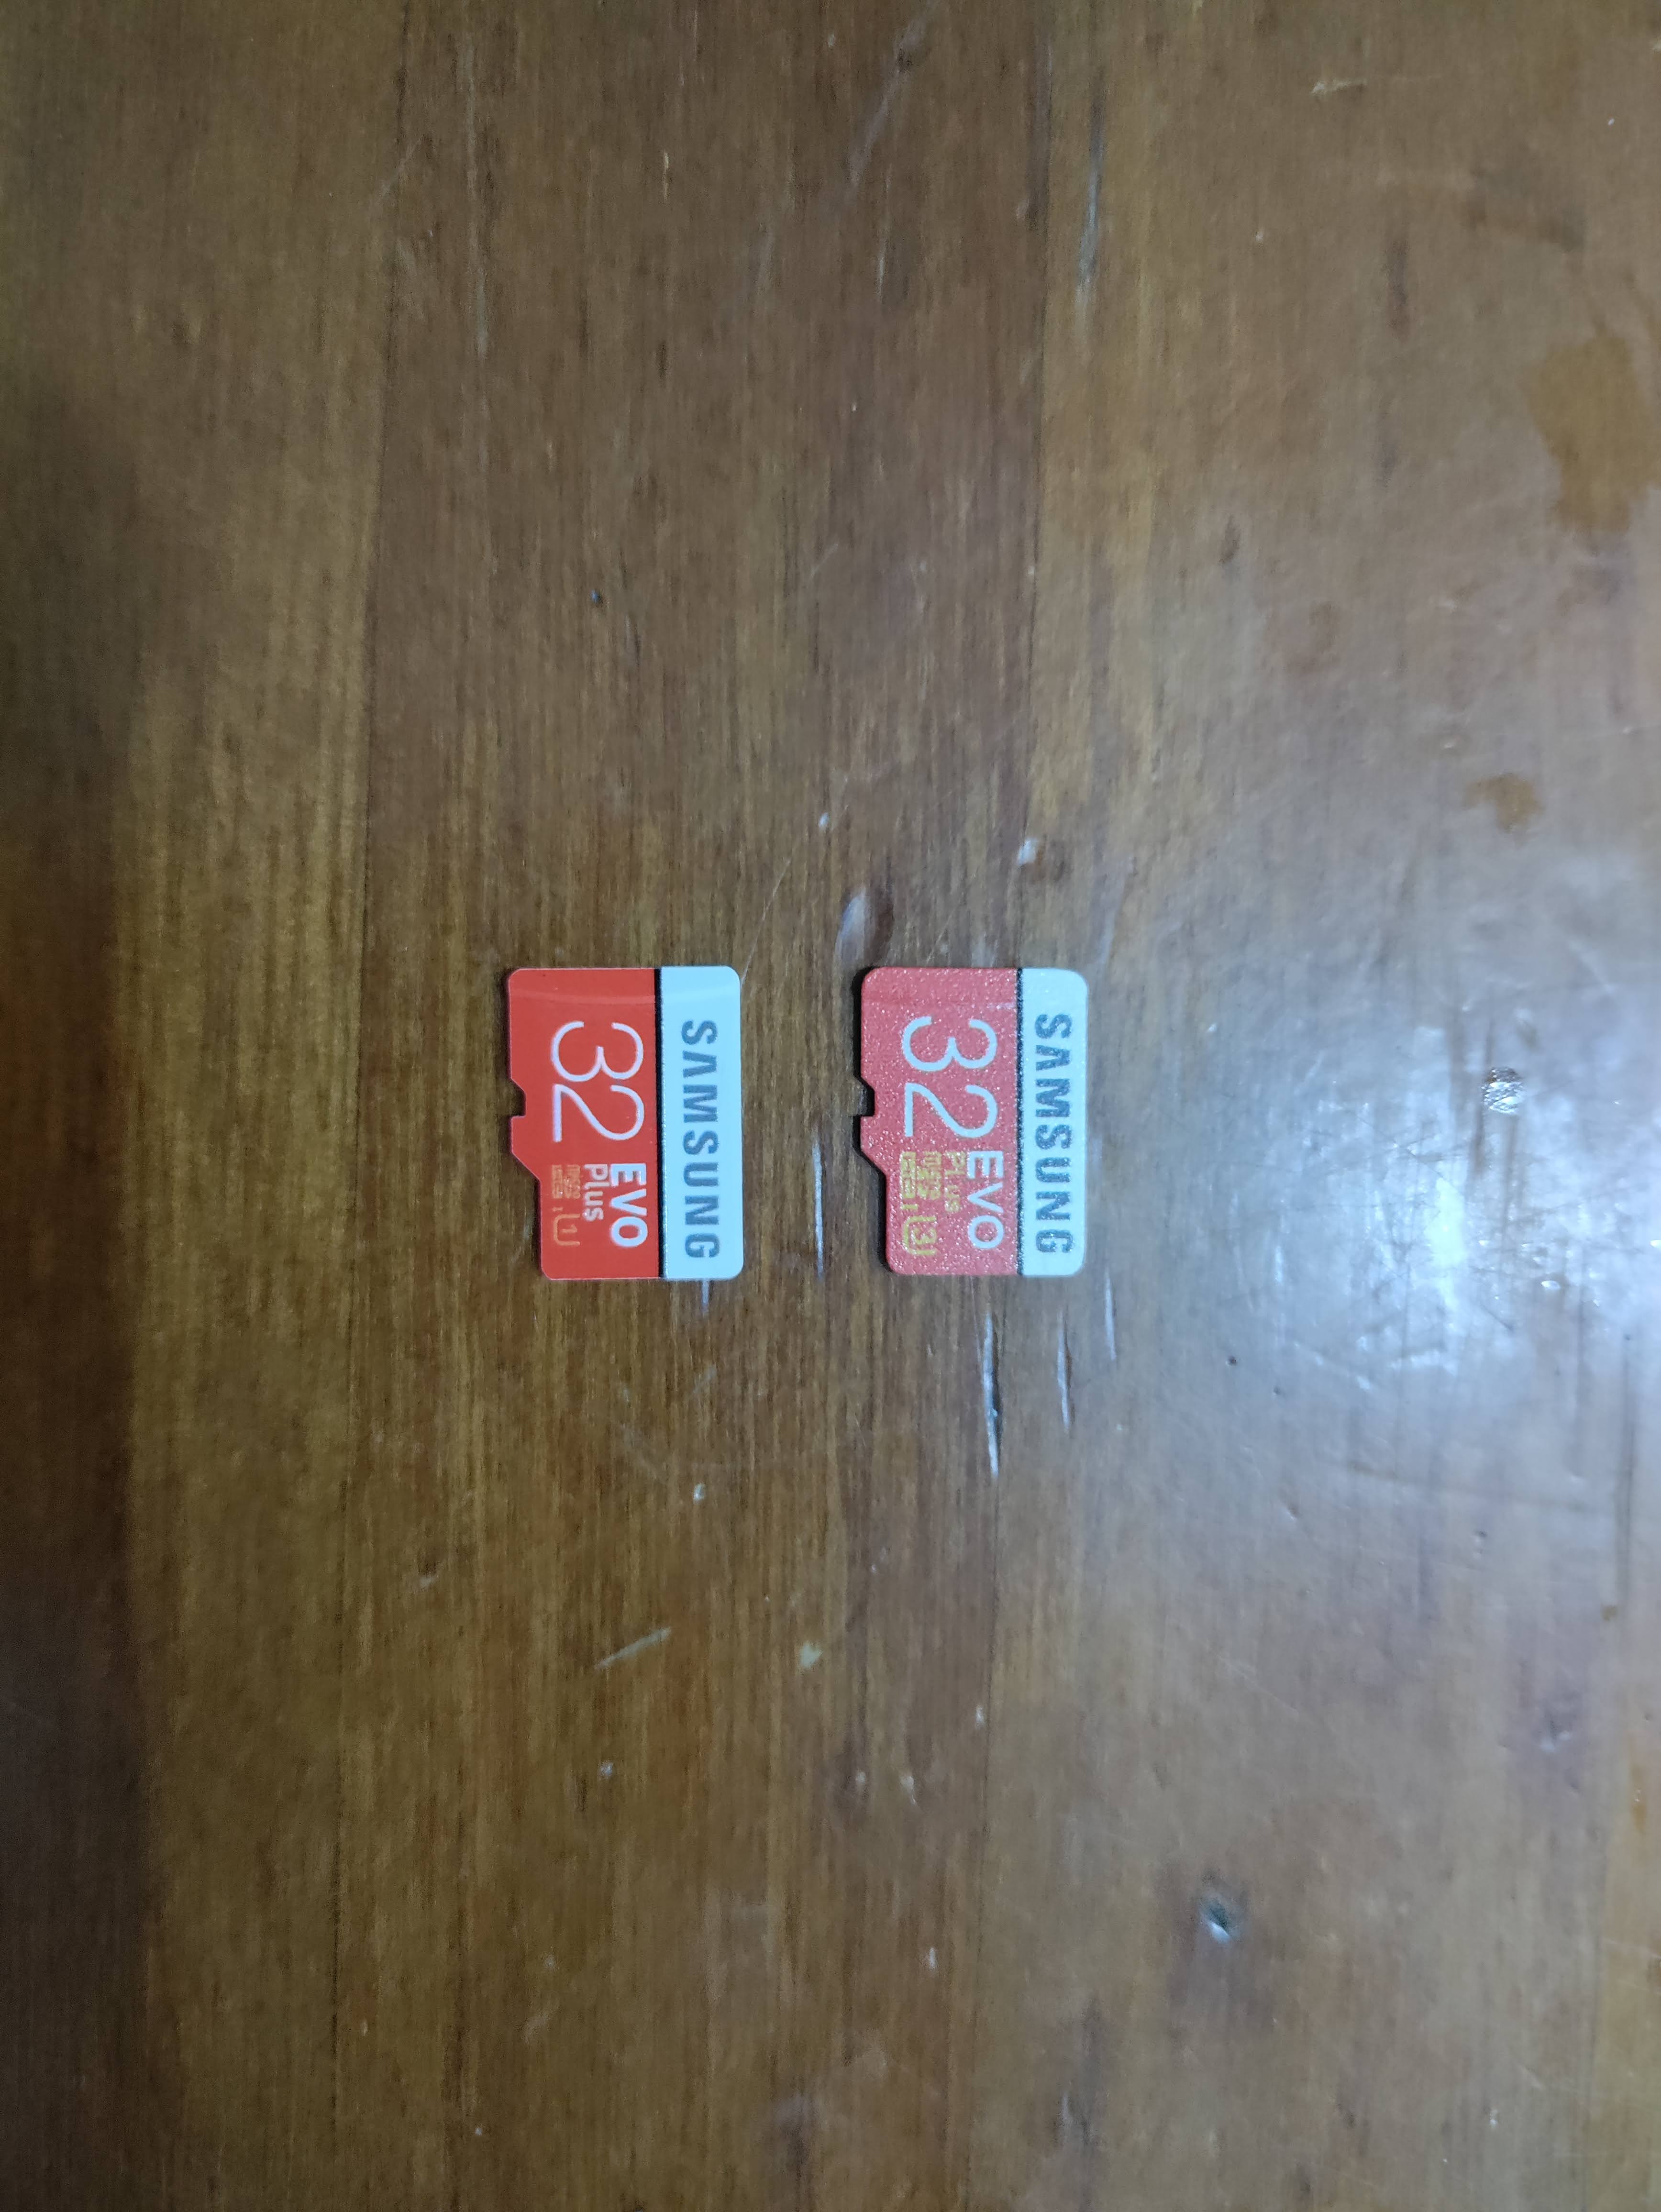
The real and fake micro-SD cards. Can you tell which is what?
It's aliiiiiiiive!
Once the micro-SD card ordeal was sorted out, it's now time to bring the Pi to life! There's a really handy official Pi Imager that makes setting up as easy as a click. I've settled for installing the 64-bit Raspberry Pi OS Lite. I've learnt later on that selecting the gear icon at the bottom-right corner of the Imager allows you to configure additional things ahead of time, including the hostname, user name and password, and Wi-Fi settings.
After a quick flash and inserting the card into the Pi, I plugged it into a power socket and waited as it came to life. After a while, I tried to use SSH from my computer:
ssh <pi username>@<pi hostname>
I'm happy to report that things worked immediately!
<pi username>@<pi hostname>'s password: <hidden entry>
Linux rpi 5.15.61-v8+ #1579 SMP PREEMPT <date> aarch64
...
<pi username>@<pi hostname>:~ $
Containerisation with Docker
In my research (ahem YouTube videos and a bunch of articles from Pi My Life Up), I came across the idea of using Docker to deploy multiple services at once with containerisation. This meant that each service could run on their own, but they're isolated from each other. This also meant that it's probably easier to manage them (like stopping, starting, and restarting), too!
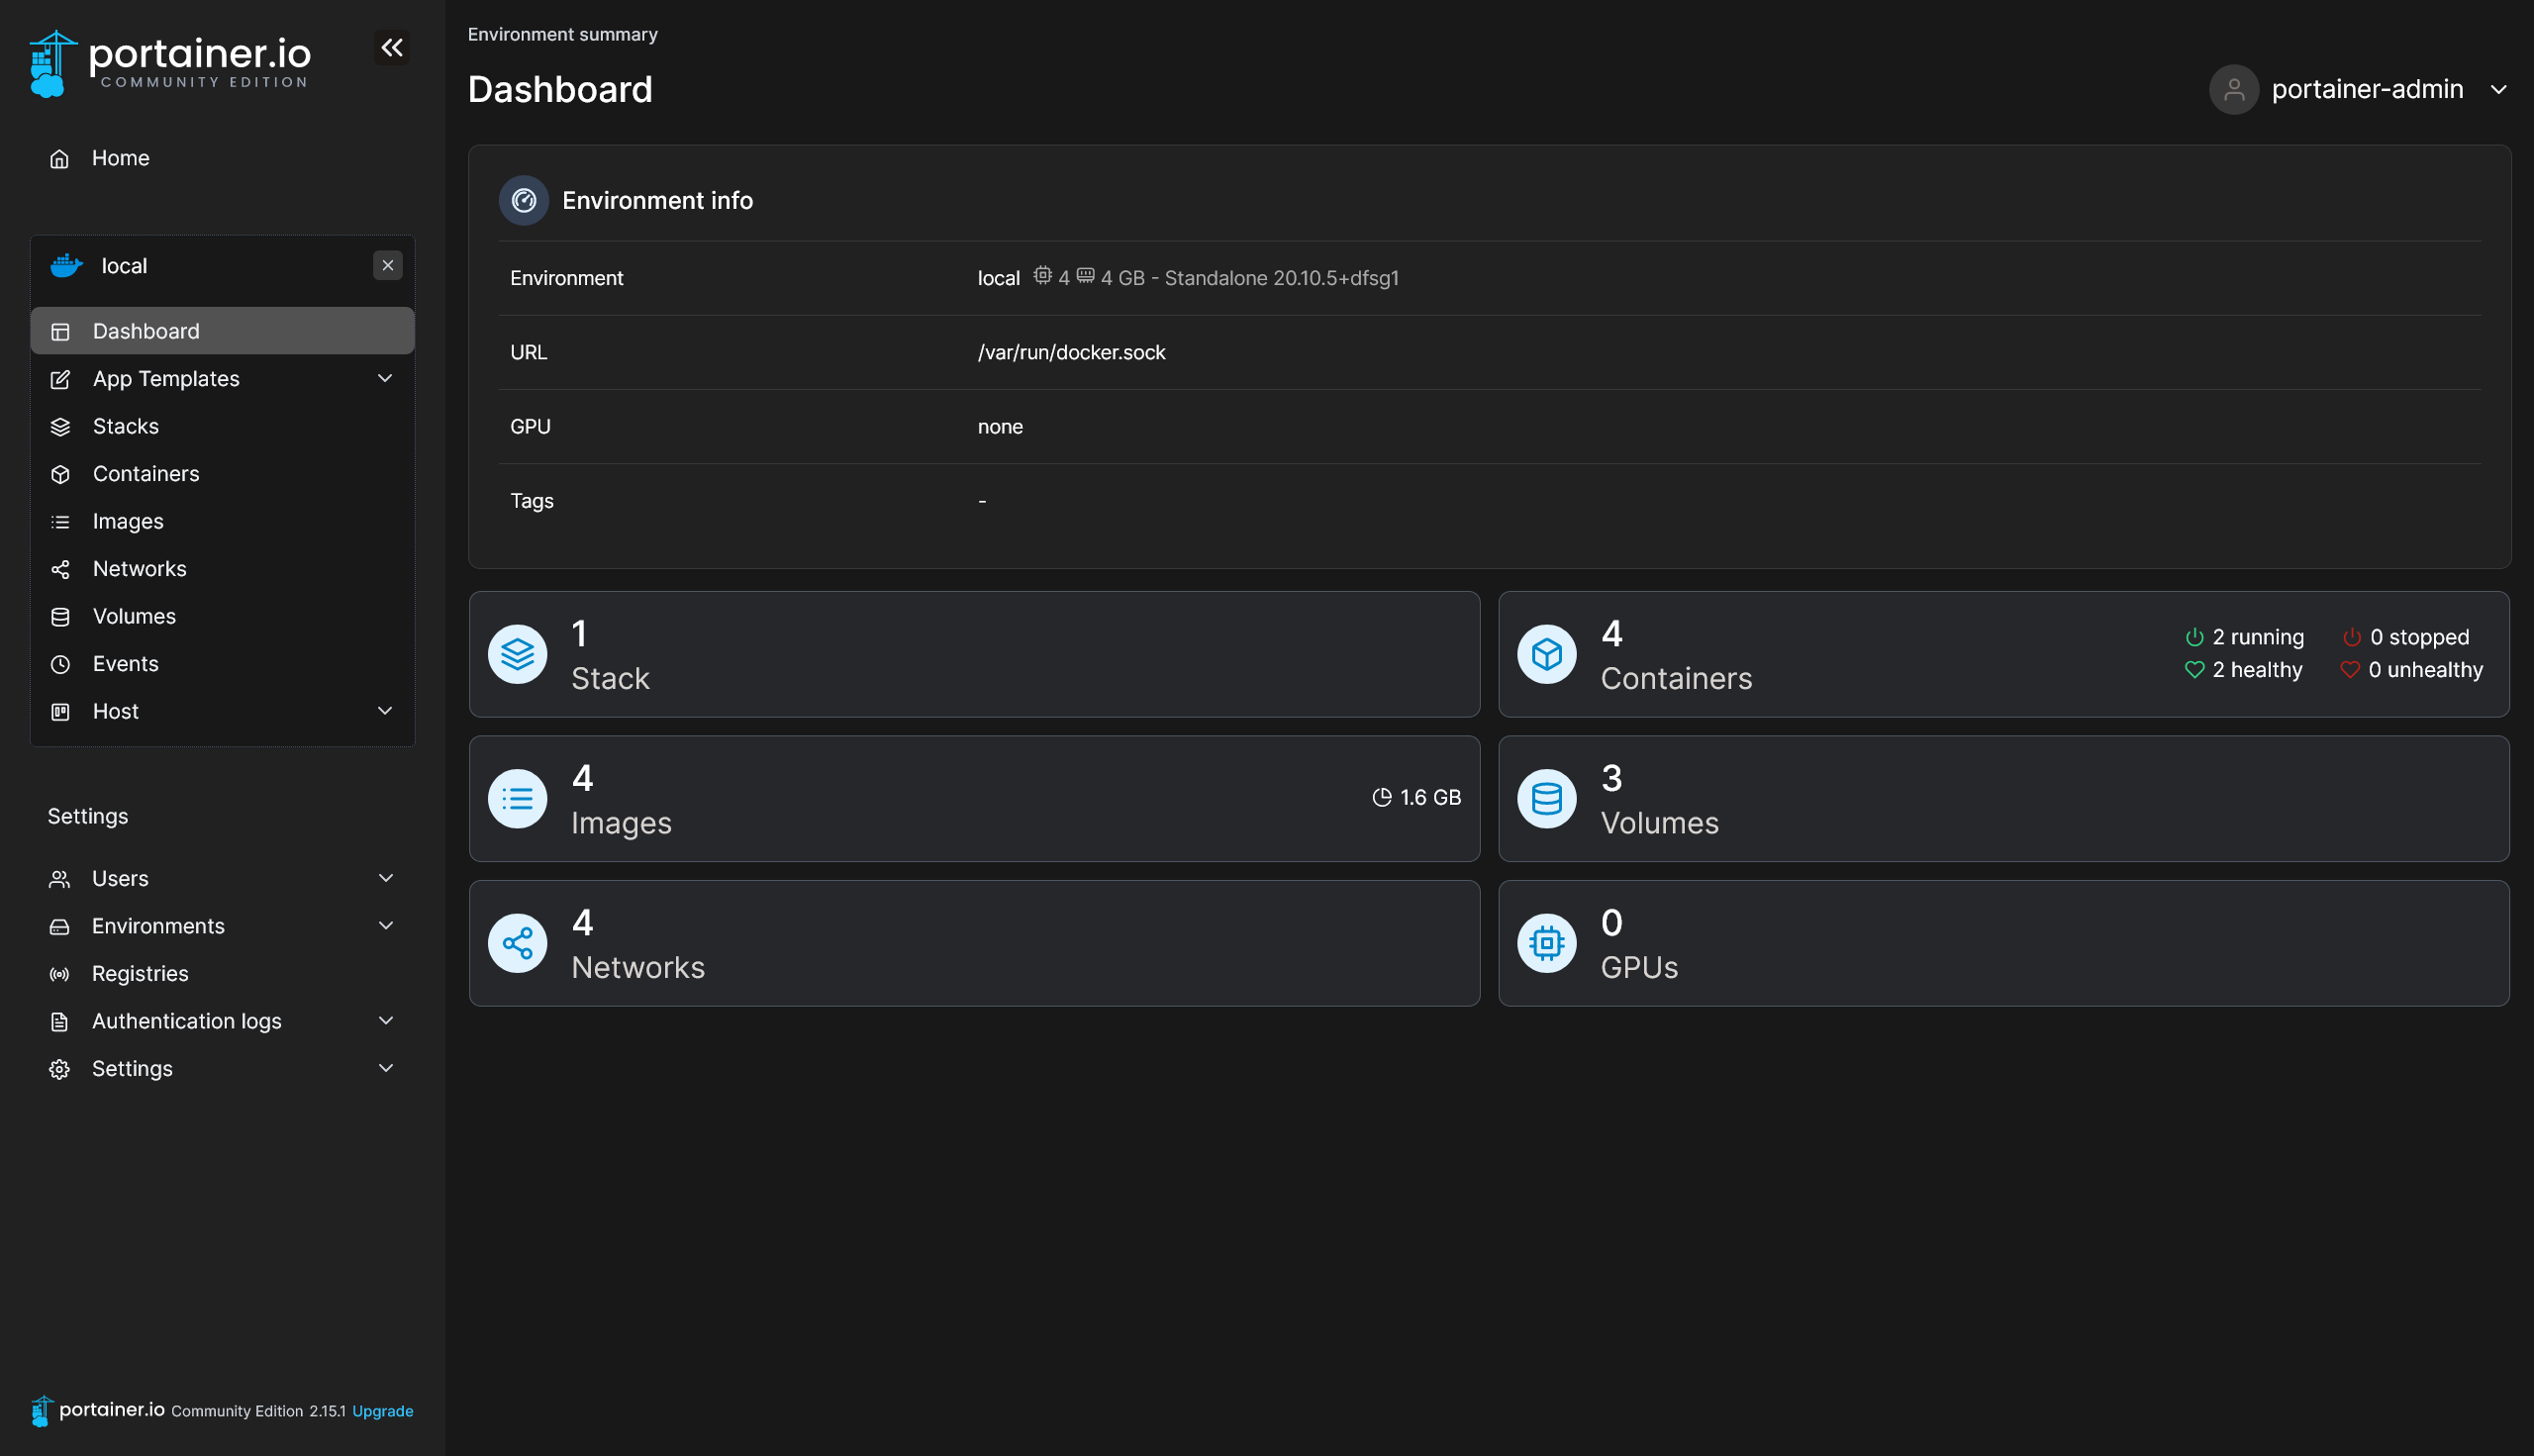
Of course, it's much more complicated to use Docker on the command-line rather than a GUI. I eventually came to learn of Portainer, a web-based GUI for handling Docker stuff. It even makes it better that Pi My Life Up has an article on how to set up Portainer. Pretty neat!
After a bunch of apt commands and waiting around here and there, Portainer and Docker are up. That makes it much more easier to self-host things!
Here are a few things I've learnt about Docker that you can do.
Changing ports
Docker introduces the idea of having internal (within the container) and external (on the server/Pi) ports that you can meddle around with. I came to realise that you can customise which port you want to go to (the external port) to connect to the service without having any issues!
For instance, if a service requires port 8080 to be open, I can instead have an external port of 9010 instead. That meant that I could connect to http://<pi hostname>:9010 and Docker will route that to port 8080 internally, making things fully work!
Environment variables
Be sure to read the image's page carefully; there may sometimes be environment variables that you can use to customise the image further. You might need to change the environment variables for things to work, or to make sure that it at least does as you expect in your configuration!
Letting it all out
Here's the fun part. Now that everything's ready to go, I can fully explore and self-host things, and they're much easier if they have Docker images available! Here are a few things that I've tried out:
- Jellyfin (available on Docker) — hosting old videos; and
- OpenMediaVault (available as a script) — turning the Pi into an accessible NAS.
There's still a lot more for me to try, and I will at my own time!
I've realised that LinuxServer is a pretty handy collection of Docker images for you to easily self-host services. I recommend it a lot, since it takes away the complications that come with making a Docker image. They also have standardised environment variables and the like, so you can be comfortable in giving them when you have to!
Connecting to the internet
This is the hardest part that still has me scratching my head, but I'm glad that I've figured it out a few days ago. It's pretty cool to see it all work, and all the networking things you learn when doing so!
I'll briefly split this part into the two methods that I've employed:
Port forwarding and dynamic DNS
A common way for many people to make their local servers accessible over the internet is through port forwarding. If they have an IP address provided by their ISP that changes from time to time, dynamic DNS is needed.
My first roadblock came when I realised that there wasn't an option for port forwarding on my router (at first glance). I only saw port triggering, which I've learnt was something a little different from port forwarding. While port forwarding maintains an open port that routes packets sent to that port to a device in the network, port triggering will only open a port when a packet from a device in the network is sent.
It took me a while to finally figure out that my router does support port forwarding, but named differently. Turns out that it's called virtual servers, so there's that! Setting the ports, thing still didn't work. What a bummer.
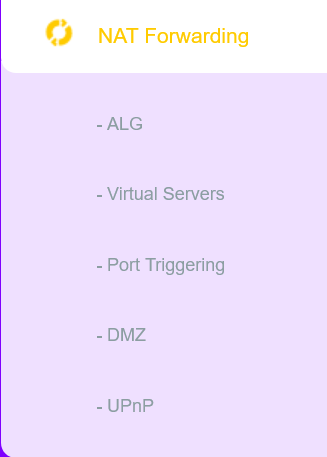
The menu options on my router for port forwarding (funnily named Virtual Servers) and port triggering.
Dynamic DNS
Since IPv4 addresses are running out, ISPs may have to rotate the use of IP addresses. For consumers looking to host their stuff in the internet, this complicates things since the public IP address of a network can always change.
Dynamic DNS serves to solve this issue, by binding a domain (or subdomain) to the IP address of the network. This involves the server (my Pi in this case) constantly updating the domain (or subdomain) with the current public IP address of the network, often through a cron job.
I've used DuckDNS with its given script and Namecheap's Dynamic DNS with DDClient, but still to no avail.
I tried to refer to Pi My Life Up's article on port forwarding and this video on port forwarding, but I still faced the troubling 'server not found' page.
Private IP addresses and CGNAT
I began to research a little more and came across an explainer on public and private IP addresses. I learnt that there were three classes of private IP addresses:
- Class A addresses, which range from 10.0.0.0 to 10.255.255.255;
- Class B addresses, which range from 172.16.0.0 to 172.31.255.255; and
- Class C addresses, which range from 192.168.0.0 to 192.168.255.255.
I took another close look at my IP address, thinking it couldn't possibly be a private IP address, and— oh. Oh.
Funny story, turns out that my ISP operates with something called carrier-grade NAT (or CGNAT), and that turned out to be the issue. I'd spent months trying to figure out why port forwarding didn't work, and it turned out that with CGNAT, port forwarding practically becomes impossible. Oh well! I found it pretty funny that alarms weren't blaring in my head that the IP address I've been looking at since setting up dynamic DNS was a private IP address, but I guess I didn't know what the ranges were only until later.
Tunneling
I thought that I'd hit a permanent wall and I couldn't work around this issue, since it's more of the way the ISP's network is rather than something I can change. Thankfully, Reese, a fellow Hack Club member, came to help by suggesting workarounds for the issue! This definitely brought back some hope.

The short exchange between me and Reese that had me looking at Cloudflare Tunnels.
I settled on using Cloudflare Tunnels to help me work around the issue. The concept revolves around Cloudflare establishing a connection directly to my Pi, circumventing the need for port forwarding and a public IP address. It's pretty neat, but the set up takes quite a while!
I first had to transfer my nameserver from my registrar to Cloudflare. That took a little while, but was easy enough to follow. Installing cloudflared and setting it up took even longer, though. I had to set it up, authenticate into my Cloudflare account, then create the configuration file. Thankfully, Cloudflare's documentation really helped a lot!
Here's a brief overview of the steps I took:
- I installed
cloudflaredusing apt:sudo apt install cloudflared. - Afterwards, I authenticated into my accunt using
sudo cloudflared login. - Next, I created a new tunnel using
sudo cloudflared tunnel create <name>. This should automatically generate and show you a tunnel ID and the path to the credentials file for the tunnel. - I then made the configuration file (see below!).
- For each of the hostnames I've declared in the configuration file, I did
sudo cloudflared tunnel route dns <name> <hostname>. The hostname is in full, so it must include the domain. - Afterwards, I made
cloudflaredrun as a service usingsudo cloudflared service installandsudo systemctl start cloudflared. Things should now work!
After tweaking here and there, here's what my my configuration file looks like:
tunnel: <tunnel id>
credentials-file: /root/.cloudflared/<tunnel id>.json

ingress:
  - hostname: <subdomain or domain 1>
    service: http://localhost:<port 1>
    originRequest:
      noTLSVerify: true
  - hostname: <subdomain or domain 2>
    service: http://localhost:<port 2>
    originRequest:
      noTLSVerify: true
  - hostname: <subdomain or domain 3>
    service: ssh://localhost:22
    originRequest:
      noTLSVerify: true
  - hostname: <subdomain or domain 4>
    service: http://localhost:<port 3>
    originRequest:
      noTLSVerify: true
  - service: http_status:404
After deploying and waiting for DNS to propagate, things worked!
Conclusion
If you're thinking about whether you'd like to get a Raspberry Pi, and especially with the increasing debate about its usefulness, I think that you should definitely get it if you have the means to. I've learnt so much through this one Pi alone, including:
- how to navigate Linux terminals (please don't make your user own the entirety of
/etc); - basics of networking; and
- experimenting with joy.
Who knows what things it could do for you? This was, and probably still is, a project I'll continue to have fun enjoying. I think there are so many things you'll learn (like for me, networking theory and security) that you might not expect! Keep an open mind and give it a try if you'd like and have the means to.
Thanks for reading!