Sometime last month, I had to switch computers for my polytechnic studies. I was quite excited for switching to a new computer, since I've been using the same one for about four years. I will miss my old computer (a 13-inch MacBook Pro from 2017), but I'm really stoked about the adventures I'll have with my new one (an IdeaPad Slim 5 Pro)!
So far, I'm pretty pleased with everything about the new computer. It's pretty speedy, and it's really big (I still haven't really gotten used to the screen real estate; the computer's screen is 16 inches!). It's running Windows 11 built-in, and I have to say I do enjoy the little details of Windows 11 (like the animations, sounds, and design as a whole). As an added plus, maybe I'll be able to do more entertaining things here, given the general incompatibility with macOS!
With that said, one of the major concerns that I had was moving my coding experience over from my old computer to my new one. I had been backing up my dotfiles in a public repository that I have, so I'd imagine that doing so earlier would take some of the frustrating bits away. I then had to consider how to actually make sure that things move over smoothly, and that was quite the process to go through.
In general, here are the few things that I've learnt that I want to go through.
Windows 11
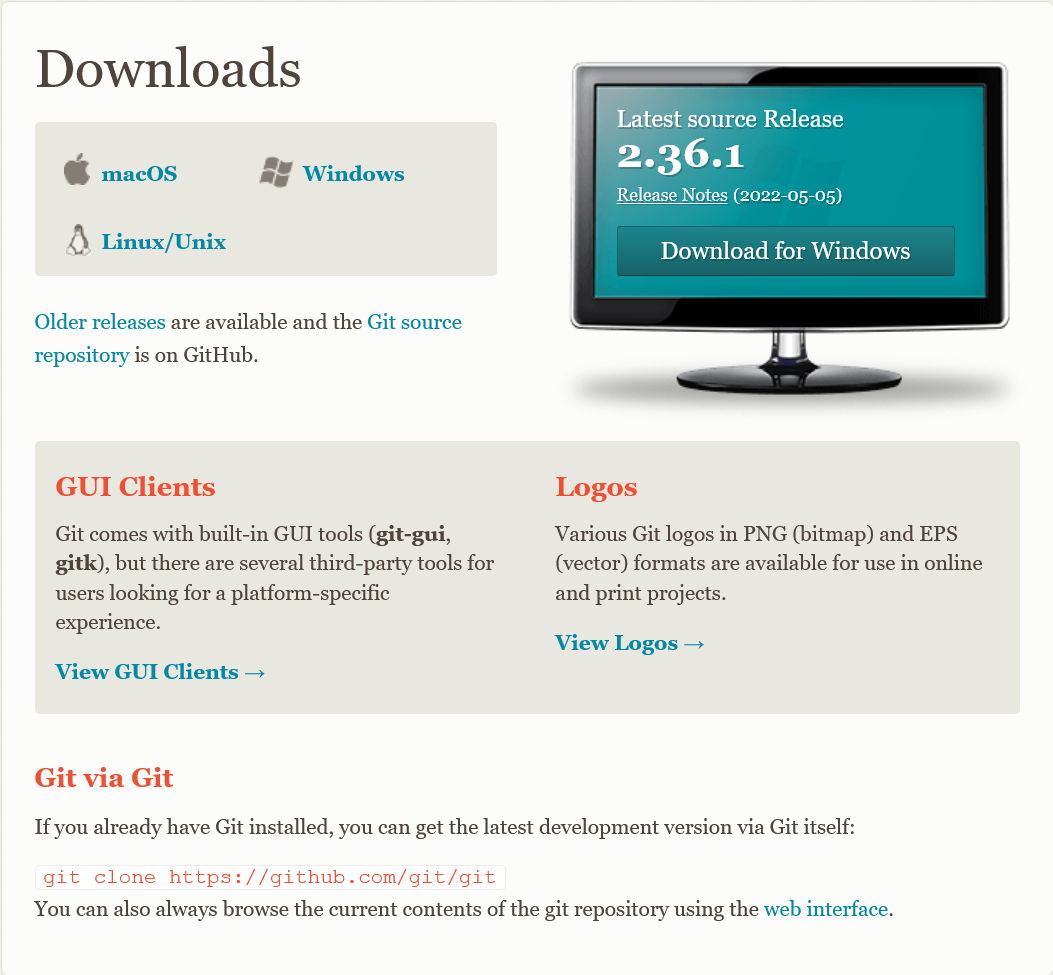
The first surprising thing that I discovered when opening up either the Command Prompt or PowerShell was that there wasn't Git pre-installed in the OS. Coming from macOS, a UNIX-based OS, I had assumed that Windows might have Git pre-installed in some way too. It was only then, after a quick search, that I discovered that you'd need to install Git from the downloads page.
Additionally, as far as I knew, there wasn't much of a package manager like apt; I knew of Chocolatey, but I didn't think it offered that many technical options (like shells and the like) compared to something like apt.
It was at about this stage that I discovered a possible alternative. Instead of having to install Git and use Chocolatey, why don't I use a Linux shell right in Windows?
Windows Subsystem for Linux
Windows Subsystem for Linux is a really impressive thing, to be honest. From its about page in Microsoft's documentation:
The Windows Subsystem for Linux lets developers run a GNU/Linux environment — including most command-line tools, utilities, and applications — directly on Windows, unmodified, without the overhead of a traditional virtual machine or dualboot setup.
In other words, WSL allows you to run the shell of a Linux distribution (for instance, Ubuntu) right on Windows like you would with the Command Prompt or PowerShell. It's extremely convenient, and keeps me right at home!
-
To get started, all I had to do was run the install command.
wsl --install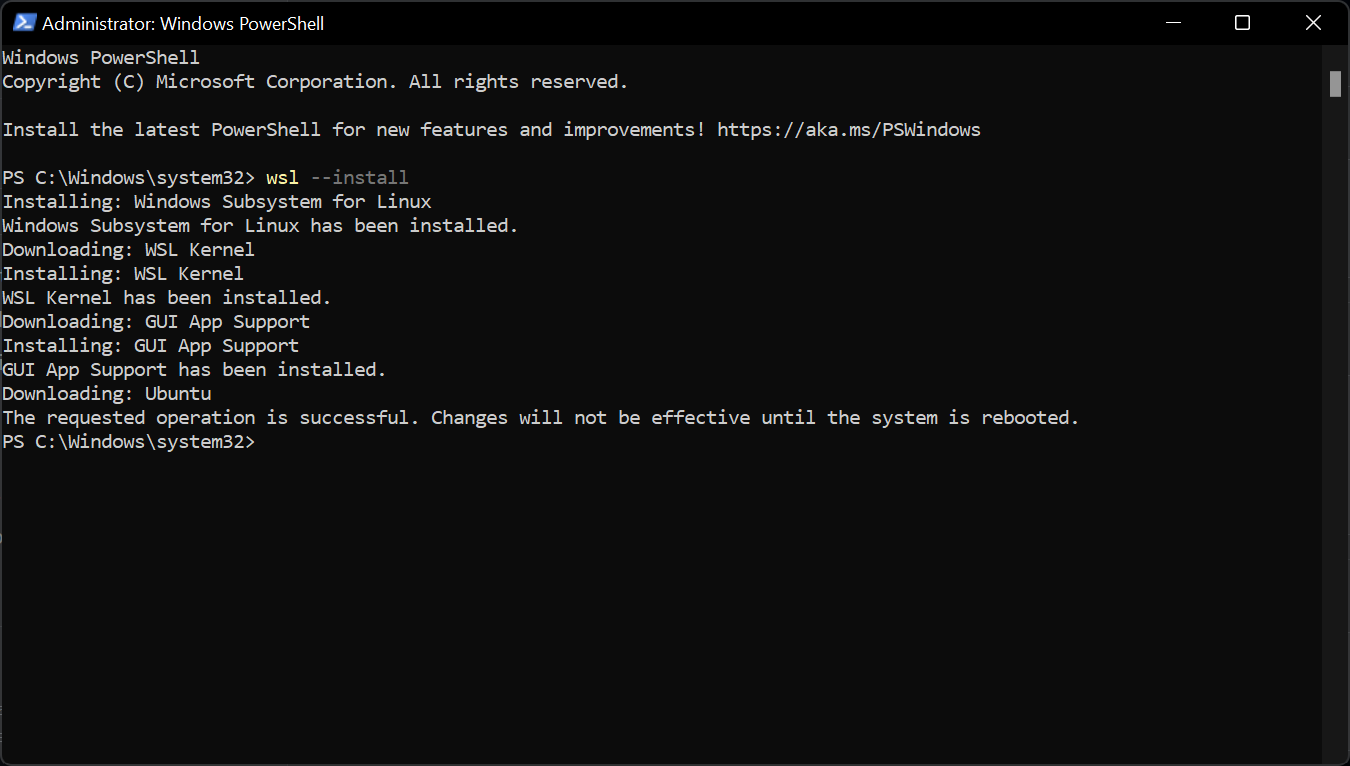
Installing WSL is as simple as a command.
After reading a little more about it, I settled on using WSL for anything coding-related. I'll have access to apt to install whatever I need, and that's a really good thing. Not to mention, WSL is officially supported by Visual Studio Code, my preferred text editor. VS Code's documentation has a detailed page explaining all the things you need to do to get started with using WSL. TL;DR, it's as simple as installing an extension. The experience is pretty seamless, too!
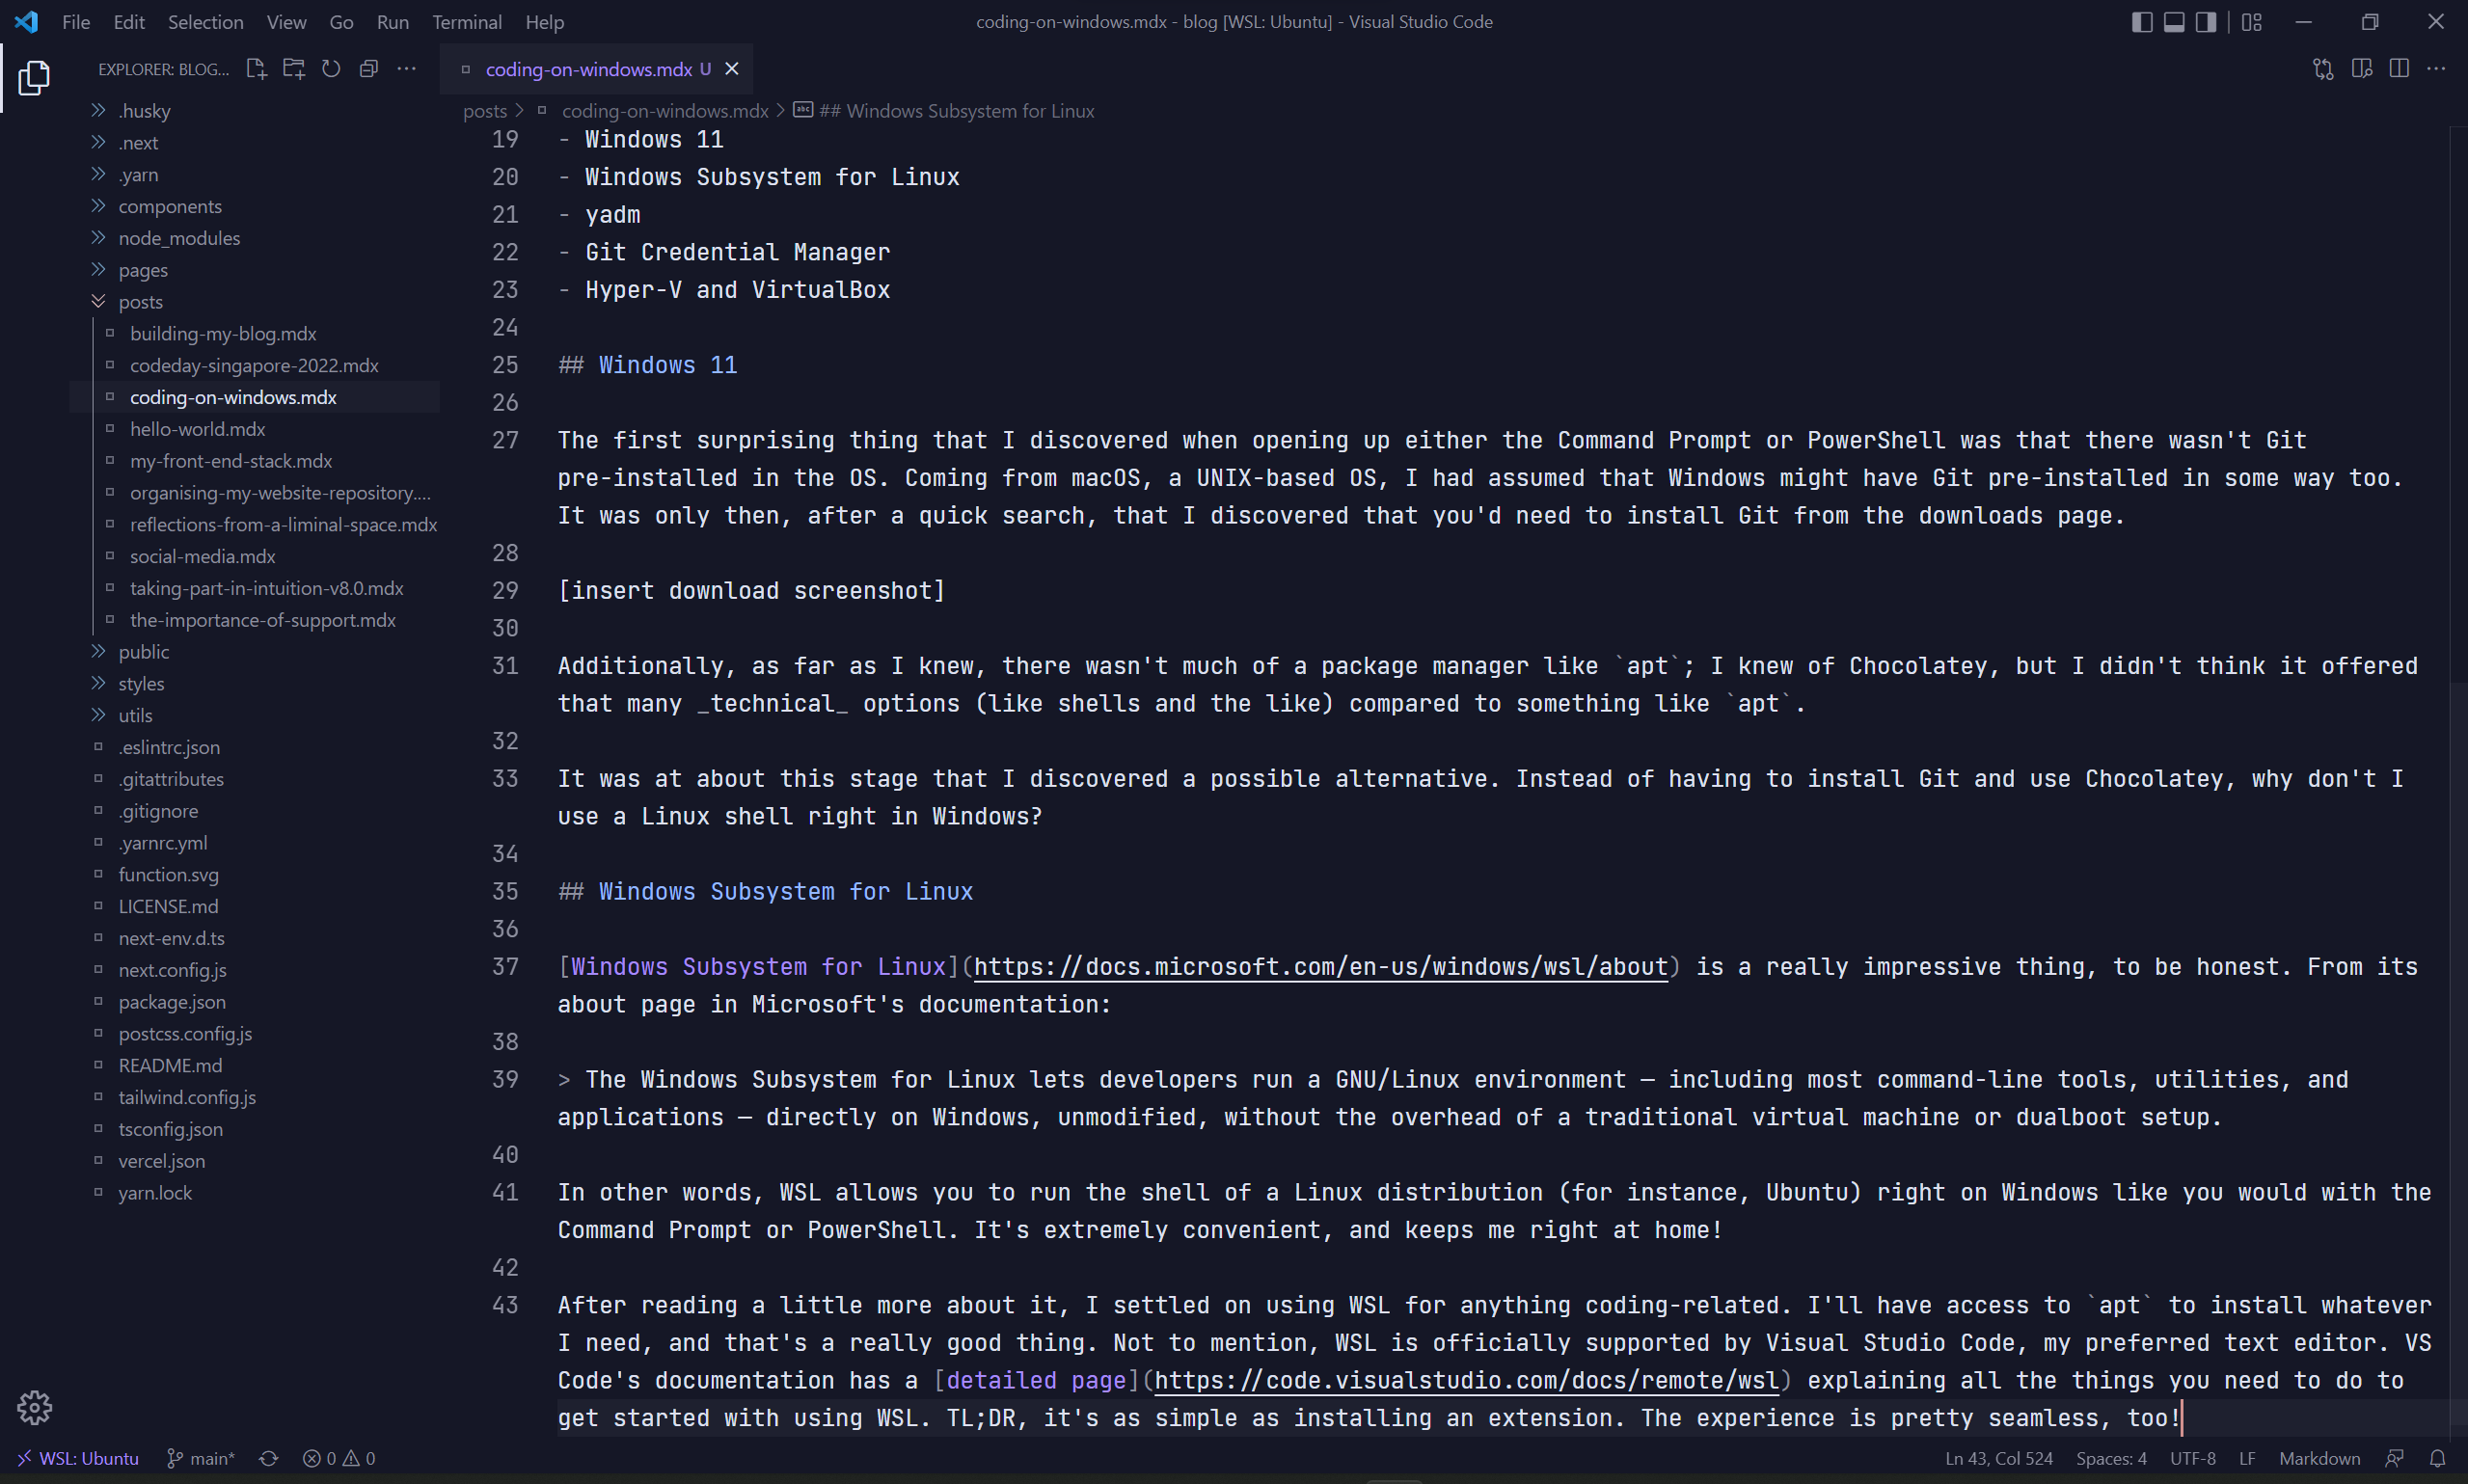
The "WSL: Ubuntu" bit at the status bar shows that I'm running this from WSL!
yadm
As mentioned earlier, I keep my dotfiles backed up in a dotfiles repository hosted on GitHub. Powered by yadm, the experience of cloning and restoring my dotfiles went relatively smooth!
-
First off, I had to install yadm. Fortunately for me, it's available as a package in
apt. It's as simple as running the install command!sudo apt install yadm -
Next, I had to clone my dotfiles repository. Since I had a bootstrap file to clean up unnecessary files (like the LICENSE and README files), I ran that as well.
yadm clone https://github.com/arashnrim/dotfiles -b main -m main -
It appeared to me at this stage that things were unexpectedly broken here and there. I realised that many of them had to do with different configurations needed (for example, the path to GPG for Git differs on both Linux and macOS) so I relied on yadm's alternate files to do the trick. It took a little bit of time to clean things up, but eventually things were okay!
-
I realised that the
fishshell broke if you were to installfishas-is fromaptas Tide, myfishprompt of choice, required the latest version. After a quick search, I realised that you had to subscribe tofish's version 3 repository foraptbefore installing it again.sudo apt-add-repository ppa:fish-shell/release-3 sudo apt update sudo apt install fish
Git Credential Manager
This part is a little tricky. To my understanding, Git (by default) caches your credentials for a certain period of time when it comes for authenticating (which usually kicks in before making changes to to a remote repository). This isn't exactly good for GitHub, since it's a tedious process that involves me having to generate a new personal access token. It gets frustrating!
After a little bit of searching, I came across Git Credential Manager. Put simply, it handles all the complexities behind authentication; whether it's managing the credentials you have or authenticating for the first time, it makes the process much simpler. I realised that the reason why macOS didn't really need this was because credentials are stored in the Keychain (which, I guess, is a built-in credential manager for the OS).
Installing it was quite a breeze, too.
-
First off, I had to install the .deb package file provided in the latest release.
-
Next, I transferred the file into the WSL distribution; somewhere accessible by the shell.
-
Afterwards, I installed the package and configured GCM.
sudo dpkg -i [path-to-package] git-credential-manager-core configure -
Next, I altered the .gitconfig file to use
gpgas thecredentialStoreand installedpass.# in .gitconfig [credential] credentialStore = gpg # ...sudo apt install pass gpg --list-keys # To take note of your key's ID! pass init [key ID]
When trying to alter the remote repository after this (for example, by pushing), a window appears to authenticate into GitHub once and things worked smoothly!
Hyper-V and VirtualBox
As part of my modules, I had to use VirtualBox to handle some virtual machines. I realised, though, that performance was extremely slow on one virtual machine in particular. After searching up the issue, I realised that Hyper-V — the system that WSL depends on — is supported by VirtualBox, but doing so may lead to severe degradation of performance.
A truce that I settled on at the moment is turning on and off Hyper-V when I wish to switch between using WSL and VirtualBox. It's a little bit tedious, but at least I won't have severely degraded performance! Thanks to this Stack Overflow question, I found that a simple way to toggle Hyper-V was to use bcdedit.
-
To turn off Hyper-V, I had to set
hypervisorlaunchtypetooffin an elevated Command Prompt.bcdedit /set hypervisorlaunchtype offFor this, it's important to note that disabling Hyper-V temporarily restricts access to WSL.
-
To turn on Hyper-V, I had to set
hypervisorlaunchtypetoautoin an elevated Command Prompt.bcdedit /set hypervisorlaunchtype autoFor this, it's important to note that both WSL and VirtualBox can run, but VirtualBox may do so with severely impacted performance.
-
To apply the changes, restart your computer.
This worked for me so far, but I hope that VirtualBox will continue to refine its support for Hyper-V to the point of general performance stability!
Conclusion
I've learnt quite a bit in the past month of using my new computer. I hope that some of the things I've discovered here may prove to be helpful to you, too. Alternatively, if you feel like there are better methods for some listed here, feel free to share your thoughts! I'd love to hear what you think.
Thanks a lot for reading again!